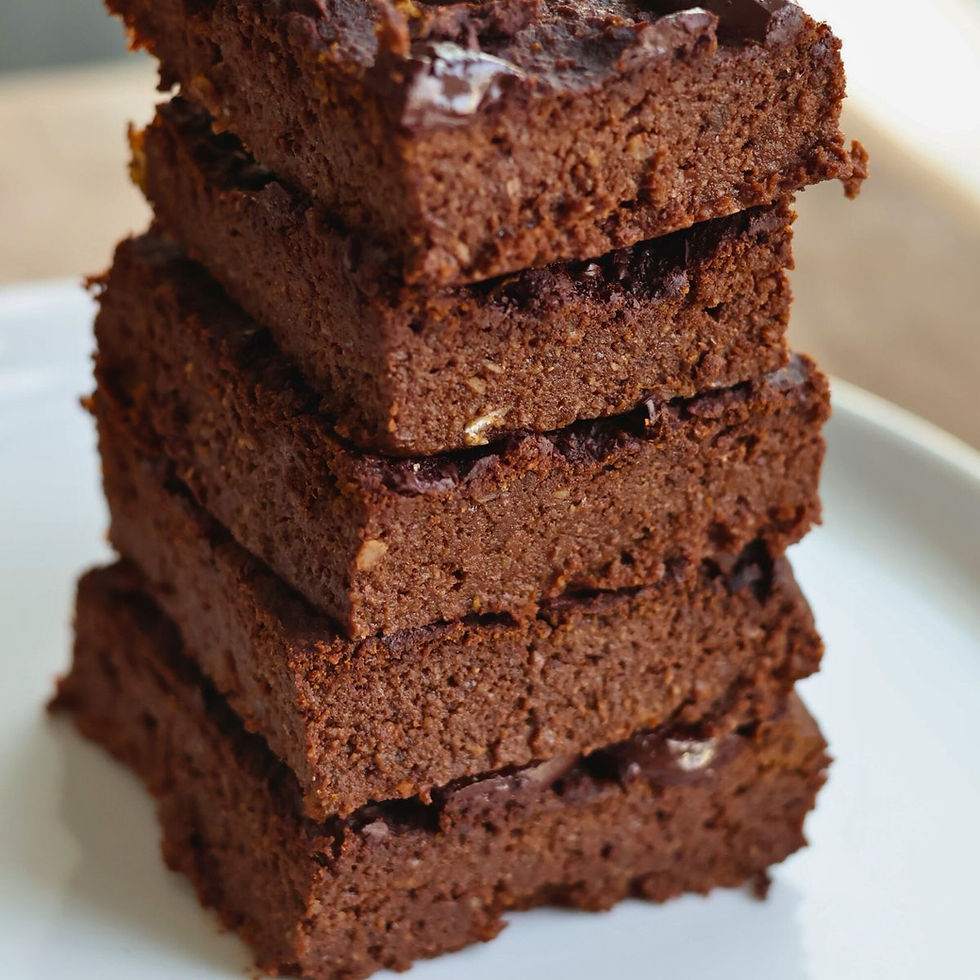
How To Take Photos Of Food: Food Photography And Videography Tips
- Wan Na Chun

- Nov 29, 2023
- 3 min read
Are you a dietitian or food blogger looking to learn more about food photography and videography skills? In this article, we will provide you with tips and tricks to help you capture delicious images and videos of your favorite dishes.

How to Take Photos and Videos of Food
Use Natural Light
When it comes to food photography, natural light is your best friend. Avoid using artificial light sources, such as overhead lights or lamps, as they can create harsh shadows and alter the color of your food. Instead, try to shoot near a window or outside during the day to take advantage of natural light.
Choose the Right Angle
Experiment with different angles to find the one that works best for your dish. For example, shooting from above can work well for flat dishes, while shooting from the side can add depth and texture to your photo.
Experiment with Composition
Composition is key when it comes to food photography. Try to create a visually appealing image by playing with the placement of your dish and any accompanying props. Don't be afraid to experiment with different compositions until you find the one that works best for your dish.
Play with perspective: Experiment with different angles and perspectives to create a unique and interesting image. For example, try shooting from above, below, or at eye level to add depth and dimension to your photo.
Use negative space: Negative space refers to the empty space around your subject. Using negative space can help draw attention to your subject and create a more visually interesting image.
Add movement: Adding movement to your food photos can help create a sense of action and excitement. Try capturing steam rising from your dish or pouring sauce over your food to add movement to your image.
Use color: Color can play a big role in food photography. Try using complementary colors to create a visually appealing image. For example, if your dish is mostly green, try adding a pop of red or orange to create contrast.
Use a Tripod
Using a tripod can help you achieve a sharp, focused image. It also allows you to experiment with different angles and compositions without worrying about camera shake.
Play with Depth of Field
Depth of field refers to the area of your photo that is in focus. Playing with depth of field can help you create a more interesting image. For example, using a shallow depth of field can help you isolate your plate of food and create a dreamy, blurred background.
Use Props
Props can add interest and context to your food photos. Try using items such as utensils, napkins, or fresh herbs to add visuals to your image.
Use a Stabilizer
When it comes to food videography, a stabilizer can help you achieve smooth, professional-looking footage. It can also help you experiment with different angles and movements without worrying about camera shake.
Use a Variety of Shots
Using a variety of shots can help you create a more dynamic and interesting video. Try using close-up shots to highlight specific details, or wide shots to show the overall scene.
Final Thoughts:
By following the tips and tricks outlined in this article, you can elevate your food photography and videography skills to the next level. Remember to use natural light, experiment with angles and composition, and keep things simple. With practice, you’ll be capturing stunning images and videos of your favorite dishes.
About the author

Wan Na is a registered dietitian and personal trainer. As a home-cook, she shares how to create nutrient-forward recipes that are flavorful and delicious on her YouTube channel (@onepotwellness) and blog (www.onepotwellness.com). She loves one-pot wonders, tropical fruits, and the smell of freshly roasted coffee beans.
If you enjoyed this article, you may also be interested in grabbing a copy of our FREE Video Creator Workbook. In this comprehensive workbook, we've laid out a roadmap to guide you through the three crucial phases of video creation: Pre-Production, Production, and Post-Production.
Whether you’re a total newcomer to video creation or someone seeking a bit more structure in your creative process, this workbook is tailored just for you. It’s designed to demystify the video creation process, providing you with the tools and knowledge to bring your visions to life.
Over 30 Pages of actionable content to get you started with creating video content!
And it's totally free!


Comments